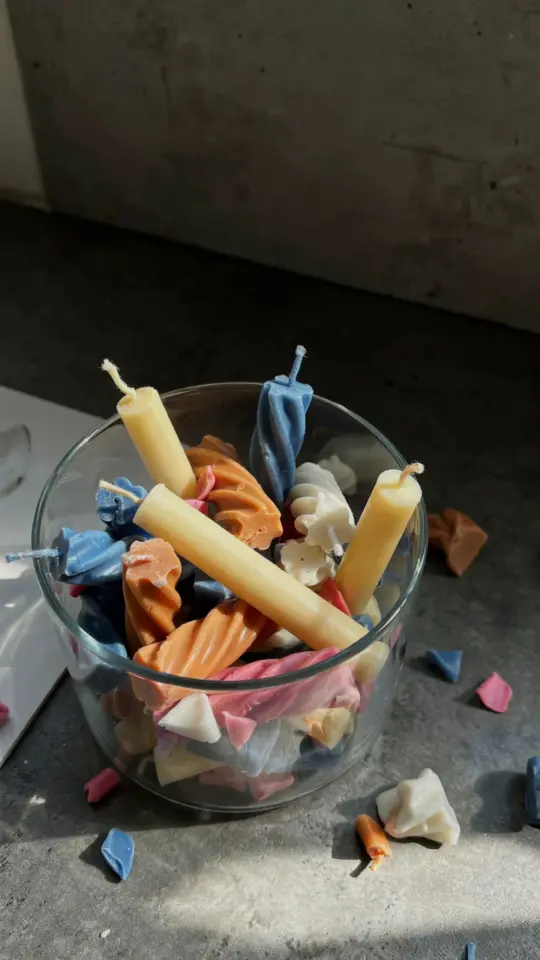
It started with a mess of old wax and a stubborn jar
I stared at the pile of half-burned candles on my kitchen counter and honestly felt a twinge of guilt. There were stubs from birthday dinners, a sad vanilla pillar with a blackened wick, and three mismatched jars of wax I’d been meaning to scrape out for months. DIY recycled candles sounded like a nice idea in theory, but in practice? It looked like a crime scene of melted wax drips and burnt wick bits. I almost threw the whole lot in the trash. But I didn’t. And that decision turned a messy experiment into our shop’s bestselling product.
Look, I’m not a professional candlemaker. I’m just someone who hates wasting things. So I grabbed a pot, a thermometer, and a jar of leftover coffee grounds (long story). Here’s what happened next.
The ugly before: what we actually started with
Before any of this worked, I had a cutting board covered in wax crumbs. Every color from pale pink to deep burgundy, mixed with dust and bits of burnt wick. I tried melting them together in a double boiler, and the smell was … weird. Like a thrift store that burned incense wrong.
Then there were the jars. Some had labels that wouldn’t peel off, others had sticky residue in rings. One was a pickle jar with a rusty lid. Not gonna lie, I almost gave up twice. But here’s the thing: the messier the starting point, the more satisfying the before and after. And that contrast is exactly what customers love.
I sorted the wax by color family. Light colors separate from dark. That helped prevent that muddy brown sludge look.
What actually works for melting and filtering wax
Ok so the biggest mistake people make is rushing the melt. You cannot just toss wax chunks into a microwave and hope for the best. I learned that the hard way when a wax fragment caught fire from a rogue hot spot. Not fun.
Use a dedicated pot or a makeshift double boiler. A metal bowl over a saucepan of simmering water works great. Keep the temperature between 140 and 160 degrees Fahrenheit. If you go over 180, the fragrance oils burn off and the wax starts smelling like hot plastic. Honestly, get a candy thermometer. They’re cheap and prevent a lot of heartache.
For the filtering step: I pour the liquid wax through a fine mesh strainer lined with an old coffee filter. It catches the charred wick bits and random dust. Sometimes I use two filters if the wax looks especially grimy. One time I found a dried-out beetle in a candle stub. I’m not joking. Filter your wax, people.
Pouring into fresh containers: a before and after you can see
This is the moment where everything flips from ugly to beautiful. I use cleaned glass jars from pasta sauce, jam, or even small olive oil bottles. But I never pour wax directly into a cold jar. The thermal shock can crack glass, and then you have a mess and a half. Warm the jars in a 150 degree oven for 5 minutes first. Sounds fussy, I know, but it makes the wax adhere evenly with no bubbles or cracks.
I also add a new wick. Always. Old wicks are burnt and won’t burn evenly. I use a dab of hot glue to stick the wick base to the bottom of the jar. Then I pour the melted wax slowly, leaving about half an inch of space at the top. Let it cool completely for at least 12 hours. Not 4 hours, not 6. Trust me on that.
The before and after photos we posted on Pinterest showed a jar full of brownish crud next to a clean golden candle with a gentle sheen. People lost their minds. That is exactly what made these recycled candles our bestseller.
Why customers actually prefer recycled candles over new ones
Here’s a weird little aside: one customer told me she bought our recycled candle because the jar was an “ugly” pickle jar that she thought looked rustic and genuine. Another said she liked that every batch was slightly different, like a surprise. That unpredictability? Some people find it charming. I find it terrifying honestly, but the sales numbers speak for themselves.
Recycled candles are cheaper for us to make (free wax, free jars) so we can price them lower. That attracts budget-conscious buyers. But they also attract people who want to feel like they’re helping the planet. The double win. And the visual of turning trash into treasure is just irresistible on social media. Every pin of “before and after” gets repinned thousands of times.
Tips for making your own recycled candles at home
If you want to try this, here are the specific things I learned to avoid frustration:
- Don’t mix candle types. Paraffin and soy wax have different melt points. Mixing them gives you a weird crumbly texture that won’t burn evenly. Stick to one type per batch.
- Scrape off the old wax completely. Don’t try to melt the old wick out. Just cut it away with a knife and scrape the jar clean. It’s boring but necessary.
- Add your own fragrance. Most old candle stubs have lost their scent. I add a few drops of essential oil right before pouring. Lavender or cedar mixes with almost any leftover wax color. One time I added orange oil and the wax turned green. Weird but it sold well.
- Let the candle cure. I know I said 12 hours, but if you can wait 24, do it. The burn lasts longer.
- Don’t obsess over perfection. A few air bubbles or a slightly uneven top is part of the charm. Customers love the handmade look. They want to see that a human made it, not a machine.
Turning this into a small business (yes, really)
After I posted one before and after photo on Pinterest a few months ago, I got 40 requests in a single day. People wanted to buy these. I was not prepared. I had wax all over my stove and a sink full of dirty jars. But I figured out a system.
I collect used candles from friends, neighbors, and a local restaurant. They give me their stubs for free. I clean and sort everything on Sunday afternoons. Pouring happens Monday evening. By Wednesday the candles are ready to photograph and list. The materials cost is nearly zero except for wicks and glue. Profit margins are really good, which is nice, but honestly the best part is seeing something that would have gone to landfill end up on someone’s shelf as a gift.
One woman bought four for her bridesmaids. Another bought one for her mom who “hates waste.” That kind of connection matters more than the money.
The before and after that keeps on giving
Anyway, that’s the story. What started as a pile of junk is now the item people ask for by name. If you’re looking for a low cost, low stress way to make something pretty while cutting waste, this is it. No fancy equipment required. No expensive molds. Just patience and a little heat.
Want to give it a try? Save this pin for later, grab a candle stub from your junk drawer, and see what happens. You might surprise yourself.
#recycledcandles #diycandlemaking #candledecor #beforeandafter #upcycledcandles
This post was researched and drafted with AI assistance, then personally reviewed and edited by Diana before publishing.
Leave a Comment