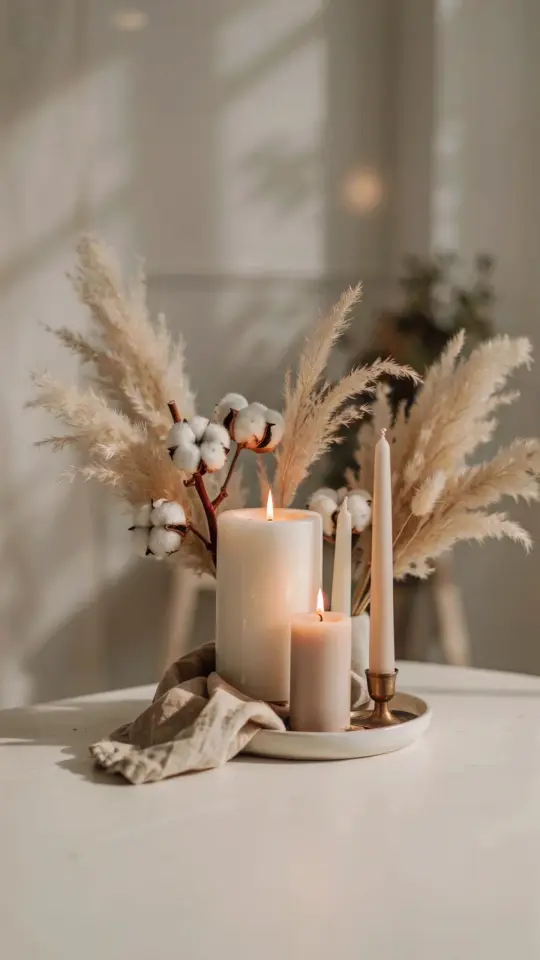
There is a certain quiet satisfaction in finding a plain, thrift store candle and seeing its potential. The surface might be dusty, the glass jar a little dated, but the shape is good and the wick is intact. That ordinary candle becomes the perfect starting point for a candle decor project that feels personal and thoughtful. You do not need a craft room full of supplies or years of experience to make something beautiful. A simple hour at the kitchen table can turn that forgotten piece into a meaningful DIY gift idea that a friend will genuinely treasure.
Beginner Friendly Candle Decor Supplies You Likely Already Own
Forget complicated tools and expensive materials. This candle makeover relies on everyday items that you probably have in a drawer or can find cheaply at a discount store. The goal is to enhance what is already there, not to build a new candle from scratch.
- A candle with a smooth surface, either in a glass jar or with a wide pillar shape
- Acrylic craft paint in two or three colors that you like together
- A small foam brush or a clean sponge for even application
- Paper tape (washi tape works well) or a thin ribbon
- A gift tag, a piece of string, and a pen for a personal note
That is the whole list. If you have extra items like stencils or gold leaf, those are fun additions, but they are completely optional. The best part of this handmade gift process is that perfection is not the point. Slight unevenness in the paint or a ribbon that sits a bit crooked only adds character and shows that a real person made it with care.
How to Choose the Right Candle for Your Upcycled Gift Project
Not every candle is a good candidate for a candle decor transformation. Look for a candle that has a stable base and a straight, even side. If the glass jar has a label, you can either peel it off or paint directly over it, both work well. Pillar candles are especially forgiving because they offer a flat vertical surface that accepts paint nicely.
Avoid candles with intricate carvings or textured surfaces unless you are ready for a longer project. Those details can trap paint in unexpected ways, which might be lovely but is harder to control at first. Also check that the wick is centered and undamaged. You are creating a before and after piece that will likely be burned later, so safety and function matter just as much as looks.
A Simple Painting Method for a Smooth Candle Decor Finish
Clean the candle surface with a dry cloth first. Dust and oils from handling will prevent paint from sticking evenly. Then, with your foam brush, apply a thin layer of acrylic paint in smooth vertical strokes. Do not worry if the first coat looks streaky; that is normal and actually helpful for building depth.
Let the paint dry completely, which usually takes about fifteen minutes, then add a second coat. For a more refined look, use a very light touch and allow the original candle color to peek through in small spots. A subtle distressed effect makes the finished piece feel rustic and intentional, not like a factory product. If you want a clean solid color, just add a third full coat and let it dry overnight before handling.
Adding Personal Depth with Ribbon, Tape, and Layered Details
Once the paint is dry, the fun begins. Wrap a strip of washi tape around the middle of the candle, or tie a soft ribbon in a loose bow near the base. These simple additions create a visual break and give the eye a resting place. You can also press a small paper doily against the side and dab a contrasting paint color over it to create a delicate lace pattern.
For a truly personal handmade gift, attach a small tag with the recipient’s name and a short message. Write something specific like, For your cozy reading corner, instead of a generic phrase. This tiny step changes the candle from a decoration into a carefully considered present. The matching ribbon and tag become part of the overall design, so choose colors that coordinate with the paint rather than fighting against it.
The Visual Reward of a Candle Before and After Makeover
Place the original candle next to your transformed version and you will immediately see the power of small changes. The dull, generic surface becomes something with color, texture, and a story. That visual comparison is deeply satisfying, especially when you know that the entire process took less than an hour and cost almost nothing.
This exact project works wonderfully for a quick hostess gift. You can make three or four candles in a single sitting, each with a different ribbon and color combination. Because the base concept is so simple, the variation comes from your choice of palette and personal details. No two will look alike, which is precisely what makes store bought presents feel less special than handmade gifts.
Practical Safety Tips for Displaying and Burning Decorated Candles
Decorated candles are lovely to look at, but they need a little extra care when it is time to burn them. Acrylic paint is not flammable when dry, but it can melt or discolor if the flame gets too close. Always leave at least one inch of clear candle surface at the top, and do not apply paint, ribbon, or paper near the wick area.
When displaying your candle makeover, keep it away from direct sunlight for long periods. Bright light can fade certain paint colors and weaken the adhesive on tape or ribbon. If you plan to burn the candle, remove the ribbon and tag beforehand and set them aside. This way you can enjoy the flame safely and keep the decorative pieces for another use.
Using Your New Skills for Other Handmade Gift Ideas
Once you master this simple method, you will start seeing the same potential in other plain objects. Small vases, ceramic mugs, and even wooden coasters can receive the same paint and ribbon treatment. This project teaches you a foundational DIY skill: how to transform an ordinary item with minimal materials and maximum attention to detail.
The confidence you gain from a successful candle decor project carries over to other crafting days. You might begin to mix colors more boldly or try stencils and decoupage. Every attempt, even the messy ones, builds your personal style and your ability to create handmade gifts that feel genuinely one-of-a-kind. That growth is part of the joy of making things by hand.
Next time you see a boring candle waiting on a shelf, do not walk past it. Take it home, give it a fresh coat of color, add a thoughtful tag, and watch the transformation unfold. Your friends will love receiving a gift that clearly took time and care, and you will love knowing that you created it from nearly nothing. Save this idea for your next crafting afternoon and let your hands make something quietly beautiful.
This post was researched and drafted with AI assistance, then personally reviewed and edited by Diana before publishing.
Leave a Comment