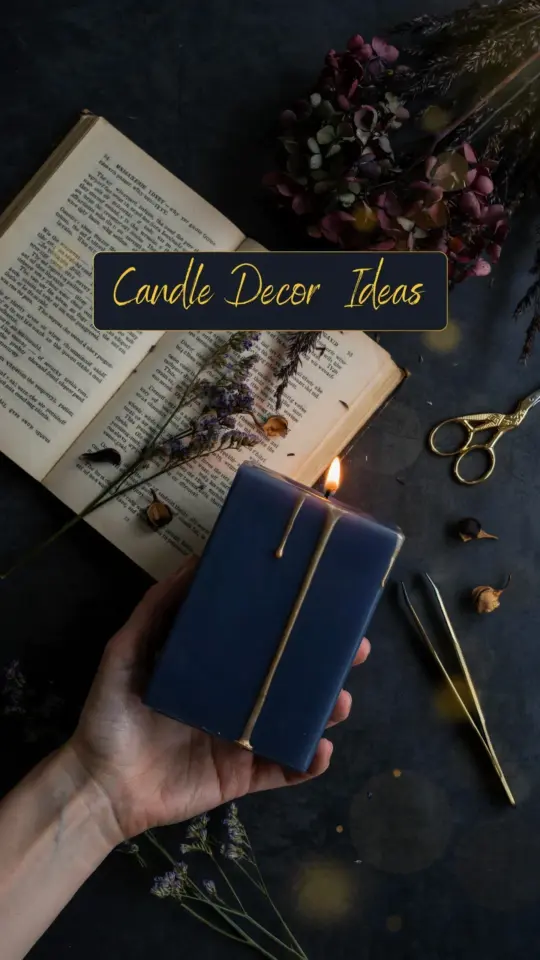
On a rainy Sunday afternoon, I found myself staring at a plain white pillar candle and a stack of dried flowers from last fall’s garden. That is when I discovered the easiest diy floral candle trick: a hot iron presses dried flowers right into wax, no glue, no special tools, just household items. This pressed flower candle craft feels almost magical because the flowers become part of the candle itself, and the result looks like something from a boutique. Best of all, you probably already have everything you need to make one in under twenty minutes.
What You Need for This Pressed Flower Candle Craft
Before you start, gather your supplies on a flat, heat-safe surface. The list is short, and you might be surprised by how simple it is. I use thrift store candles for practice because they cost almost nothing, but any plain candle works.
- One or more plain pillar candles (avoid candles with heavy fragrance oils)
- Dried flowers or dried grass, pressed flat ahead of time
- A sheet of parchment paper (not wax paper, which can melt)
- A household iron set to medium heat, no steam
- Scissors or tweezers for placing tiny petals
- A soft cloth for buffing the final surface
That is genuinely it. You do not need a heat gun, wax melts, or a dedicated craft iron. The trick is using the iron on parchment paper, which creates just enough heat to soften the surface wax without disturbing the candle’s shape.
Choosing and Drying Flowers So They Stay Put
Not every flower works well for a pressed flower candle. Thin, flat petals like pansies, violas, and daisies press beautifully. Herbs like rosemary and thyme also work, as do delicate grasses and ferns. Thick flowers like roses or marigolds hold too much moisture and can burn or bubble.
Dry your flowers between paper towels inside a heavy book for five to seven days. I like to place them near the spine because that area gets the most pressure. Once they feel papery and dry, they are ready. Avoid using flowers that still have any flex or softness, moisture under hot wax creates steam and mess.
If you are in a hurry, small leaves and flat grass can be dried in a microwave press for about 40 seconds. That method works, but the book method gives you flatter results, which makes the candle look neater.
How to Press Flowers Onto Candles with an Iron Safely
Start with a clean candle. Dust it off with a dry cloth, then lay your dried flowers on the surface in a pleasing arrangement. Do not worry about perfection, you can rearrange them with tweezers until they sit flat.
Wrap the candle in a single layer of parchment paper, making sure the paper covers all the flowers. Then set your iron to medium heat without steam. Wait until the iron is fully warm, then press it gently against the parchment covered candle for about five to seven seconds.
Press, do not slide. Sliding the iron can smear the petals or move them out of place. After a few seconds, lift the iron, peel back the parchment, and check the flowers. You want them to look slightly embedded in the wax, like they are sealed in a thin glossy layer. If they still feel loose, cover them again and press for another three seconds.
Fixing Bubbles and Waxy Bumps Without Ruining the Wax
Sometimes the iron makes tiny air bubbles appear under the flower or along the edges. That is normal, especially if your flower has a thicker stem or ribbed veins. To fix it, simply place a small piece of parchment paper directly over the bubble and press with the tip of the iron for two seconds.
If you press too hard or leave the iron on too long, the candle surface may look lumpy. Do not panic. Let the candle cool completely, then use the back of a smooth spoon to gently rub the area. The friction softens and smooths the wax without pulling up the flower.
One important tip: never use the steam setting. Even a little steam creates cloudy spots on the wax and can make the petals curl. Keep the iron dry and move quickly, that is the whole secret to a smooth finish.
Making Your Pressed Flower Candle Last Longer
A pressed flower candle will burn, but the flowers are decorative, not meant to survive a full burn down. If you want to actually light it, keep the wick trimmed short and never let the flame reach the flowers. The safest way is to light the candle for only an hour or two and extinguish it before the melted wax reaches the petals.
For a long-lasting keepsake, skip lighting it altogether and use it as a centerpiece or shelf decoration. You can also coat the finished candle with a very thin layer of clear candle wax using a small brush, just to lock the petals down a bit more. That extra step takes ten seconds and makes the flower feel more embedded.
Store your finished candle away from direct sunlight because some petals fade quickly. A cool, dry spot keeps the colors bright for months. I have had pressed flower candles look perfect after a full year on a shelf.
Gift Wrapping Ideas for Your Handmade Candle
These candles make excellent handmade gift ideas, especially when wrapped with intention. A simple piece of kraft paper and some twine lets the candle speak for itself. I like to attach a small tag listing the flower names, which adds a personal touch.
Another easy wrap is to place the candle in a clear glass cylinder jar with a ribbon around the rim. That way the pressed flowers are visible from every angle. You can also group three smaller candles together in a shallow wooden tray for a housewarming gift.
Because the cost is so low, you can make a full set of four candles for under ten dollars if you already have flowers. That makes this craft perfect for birthday parties, teacher gifts, or just because. Pair it with a homemade card and you have a thoughtful present that feels truly special.
Why This Candle Craft Beats Store Bought Candles
Store bought floral candles often use artificial scent and printed images that look flat and fake. This pressed flower candle craft uses real botanicals, so every single candle is unique. No two flowers press exactly the same way, which means your gift is one of a kind.
There is also a quiet satisfaction in making something with your own hands. The iron technique is forgiving, quick, and oddly therapeutic. I have made dozens of these candles while listening to podcasts, and each one teaches me something new about placement or pressure.
Once you master the basic method, try adding thyme sprigs along the top edge for a subtle herbal look, or use colored pillar candles for a bolder effect. The same technique also works on taper candles if you keep the iron on low heat and press in shorter bursts.
So grab that old iron, save the petals from your next bouquet, and make a diy floral candle this weekend. It is one of those rare projects that looks ridiculously expensive but costs almost nothing. Start with one candle, see how the flowers sink into the wax, and you will likely end up making three more before you finish your coffee.
This post was researched and drafted with AI assistance, then personally reviewed and edited by Diana before publishing.
Leave a Comment