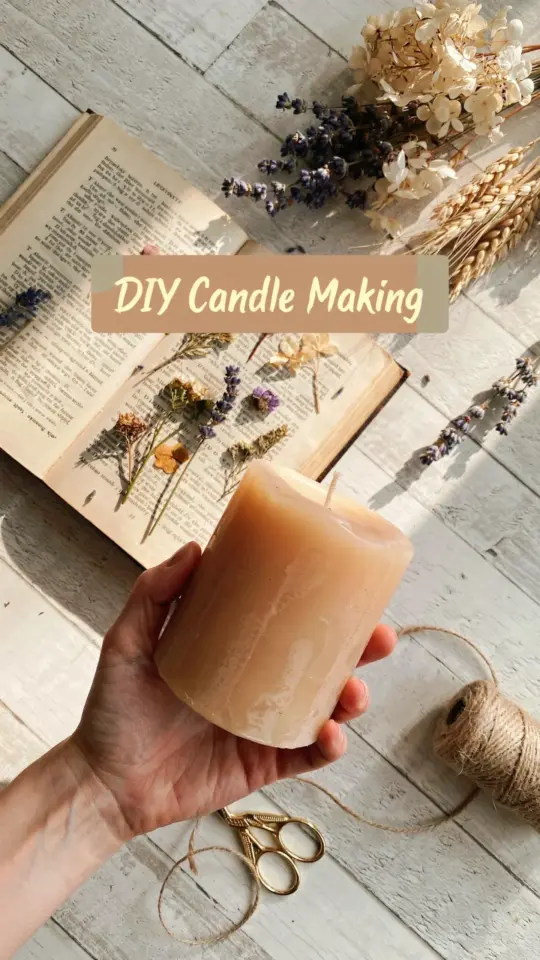
You’ve got your dried flowers laid out, a bag of soy wax flakes, and that old candle jar you’ve been meaning to repurpose. Then you melt the wax, dip a flower in, and watch it turn into a sad brown crisp. Or you press a flower onto the candle, run an iron over it, and the petal ends up a shriveled mess. I’ve been there. After ruining about six candles in a row, I finally figured out that a DIY floral candle is less about the flowers and more about the technique. This pressed flower candle tutorial is built around the mistakes I made so you don’t have to repeat them.
Choosing the Wrong Wax or Wick for Pressed Flower Candles
Here’s the thing: not every wax works well for embedding dried flowers. Soy wax is soft and forgiving, which is why most candlemaking ideas for beginners start with it. Beeswax is harder and shrinks more as it cools, so pressing flowers into it can feel like trying to stick a sticker on a rock.
But the wick matters more than people think. If it’s too thin, the melt pool won’t reach the edges, and your pressed flowers will sit in dry wax forever. Too thick, and you’ll get a tunneling, smoky mess. Go with a cotton wick sized for your jar’s diameter, and keep the flowers at least half an inch away from the wick. Otherwise, they can act like a tiny fuel source and scorch.
Pressing Flowers the Wrong Way: Fresh Blooms Are a Trap
Do not use fresh flowers. Just don’t. I tried a fresh rose petal once, thinking it would look cute and dewy. It released moisture into the hot wax, created little air bubbles, and then went moldy within a week. Dried flowers are non-negotiable for a pressed flower candle.
To dry them properly, use a heavy book and parchment paper for about two weeks. Flatter flowers work best: pansies, violas, daisies, ferns, and baby’s breath. Thick flowers like roses or marigolds need to be taken apart petal by petal. When your flowers are completely dry, they should feel like tissue paper, not leather.
- Pansies and violas lie flat naturally, almost like they were made for this.
- Fern fronds press beautifully and give a wild, woodland look.
- Baby’s breath adds texture but can be fiddly, so use tiny clusters.
- Roses: pull the petals off and press those individually, not the whole bloom.
Getting the Wax Temperature Wrong
This is the mistake that ruined my first three attempts. If the candle wax is too hot, it melts the moisture out of the flowers and changes their color. If it’s too cool, the surface hardens and the flower won’t stick. You want the candle to be solid enough that a slightly warm flower won’t sink, but soft enough to press into.
Wait about 30 to 45 minutes after pouring, depending on room temperature. The wax should look set on top but still have a little give when you poke it gently with a finger. That’s your window. If the flower won’t stay put, warm the back of it with a hairdryer for two seconds. Not longer, I promise, or you’ll end up with a melted crater.
Not Planning the Flower Placement Before You Start
I’m a go-with-the-flow person, but this craft punishes that. If you just start laying flowers on the candle randomly, you’ll get gaps in weird spots and a lot of wasted petals. Arrange your design on a piece of paper first, or lay the flowers loosely on the now-solid candle before committing.
Think about the front, back, and sides. Since a candle is round, you’ll have to choose one focal side for the best blooms, or wrap a small design all the way around. Honestly, a minimalist look with three well-placed flowers beats a cluttered mess of twenty. Leave some bare wax visible, it keeps the candle looking clean and lets the light glow through.
Rushing the Parchment Paper Step with the Iron
Here’s where the “pressed flower candle tutorial” part gets technical. You need a piece of parchment paper, not wax paper, and a dry iron on medium heat. Wax paper will melt and stick to everything. Parchment paper protects the flower from direct heat while still allowing the wax to soften underneath.
Place the parchment over the flower and press the iron down gently for about five to ten seconds. No moving the iron around like you’re ironing a shirt. That shifts the flower and smears the wax. Lift the iron straight up, then peek under the parchment. If the flower isn’t flush with the surface, press again for three seconds. The wax should look slightly melted around the edge of the petal, like it’s hugging the flower.
One trick: put a heavy book on top of the candle after ironing. This keeps the flower pressed flat while the wax resets. Otherwise, the petal can curl up at the edges as it cools, and then you’re back to square one.
Ignoring Safety and Flash Points in Candle Making
Look, I get it, the safety stuff is boring. But I once added dried lavender to the melted wax before pouring, and the buds floated to the top and caught a spark from the wick. Tiny flame, huge scare, and a very smelly kitchen. Dried plant material burns, so avoid putting anything too close to where the flame will be.
Also, never leave the melted wax unattended, keep a flame near the pouring setup, or let the wax heat past 185°F. Most candle wax has a flash point around 200°F, which means it can ignite if you’re careless. Use a double boiler method and a thermometer. That’s not a suggestion, it’s a rule.
When you’re done, place the finished candle on a heat-safe surface for the first burn. The flowers on the outside are decorative, but the heat from the flame will eventually melt the top layer and may catch a petal edge. It’s fine if the design disappears after a few burns, that’s part of the charm.
So here’s the honest version of this spring craft: it’s not hard, but it rewards patience. You’ll mess up a candle, maybe two, and that’s okay. The fourth one will look good enough to gift. And when someone asks where you bought it, you get to say you pressed every petal yourself. That’s the best part of handmade gifts, they come with stories, even the failed attempts. Go make one this weekend, and if you hit a snag, drop a comment below and I’ll help you fix it. 🌸
This post was researched and drafted with AI assistance, then personally reviewed and edited by Diana before publishing.
Leave a Comment