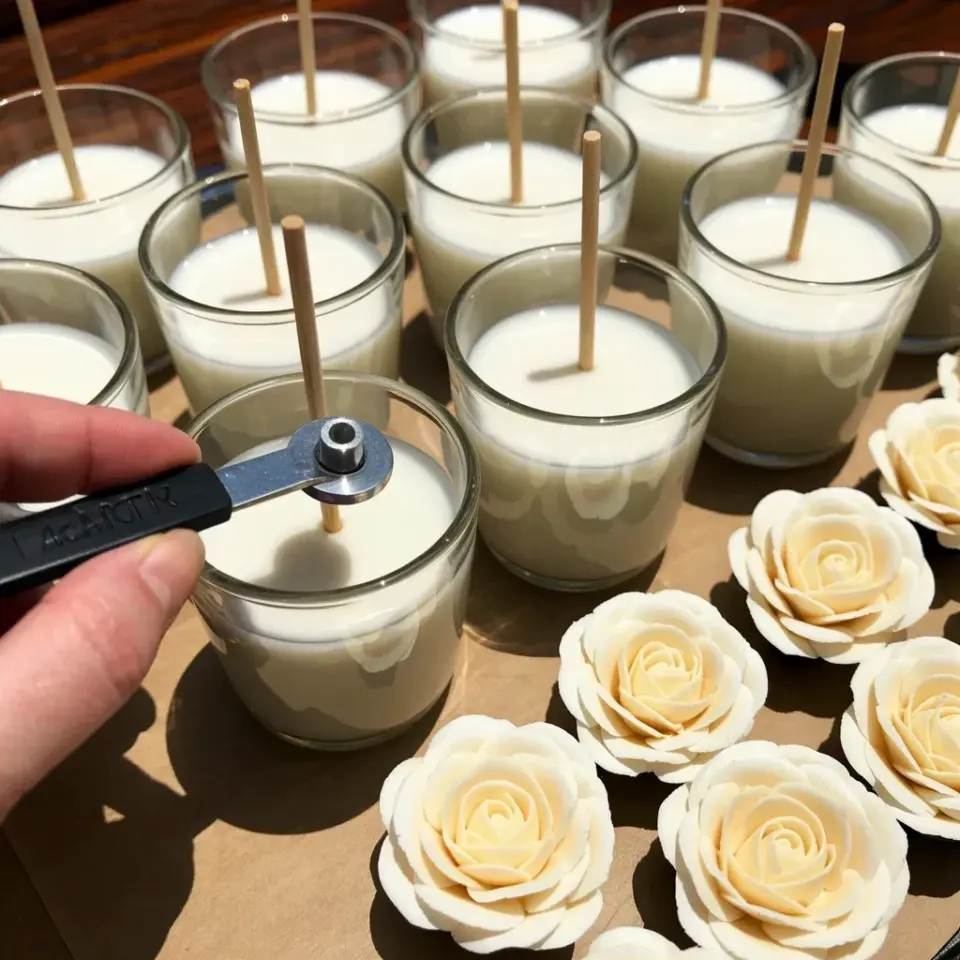
I remember my first attempt at diy candle making. I was convinced I would need a bunch of expensive equipment and a dedicated work space. But after a few tries, I realized you can make beautiful, scented candles at home for very little money. All it takes is a few basic supplies, some patience, and a little creativity. Whether you want to fill your home with cozy scents or create thoughtful handmade gifts, you do not need a huge budget to get started. Let me show you how.
Candle Making Supplies on a Budget
Before you start, gather a few simple items. Most of these you probably already have in your kitchen. The key is to buy only what you need, not a whole kit full of extras.
- Wax: Soy wax flakes are beginner friendly and cost around $10 for a 2-pound bag. That is enough for 4 to 6 small candles.
- Wicks: A pack of pre-tabbed cotton wicks costs about $3 for 10. You can even use cotton string if you dip it in wax first.
- Containers: Old jelly jars, thrift store teacups, or cleaned tin cans work perfectly. You do not need special candle tins.
- Heat source: A saucepan and a heatproof glass bowl (or an old tin can) create a simple double boiler.
- Thermometer: A candy thermometer costs a few dollars and helps you get the right pour temperature. You can skip it, but your results will be less consistent.
- Scents and colors: Essential oils from the grocery store or fragrance oils from a craft store with a coupon work great. Start with one or two scents.
Total cost for your first few candles? Around $20 if you buy everything new. But if you already have a pot and some jars, you might spend less than $15.
Best Wax for Homemade Candles
Soy wax is my go-to for budget candle making. It is inexpensive, easy to melt, and gives a clean burn. Paraffin wax is even cheaper but releases more soot. Beeswax smells lovely but costs three times as much. For a beginner, stick with soy wax flakes. You can find them at craft stores or online. A 2-pound bag will let you experiment without breaking the bank. If you want to reduce costs even more, look for wax at garage sales or ask a local candle maker if they sell scraps.
Cheap Candle Jars and Containers
You do not need to buy new glassware. Look around your kitchen or visit a thrift store. Small mason jars, baby food jars, or even empty spice tins work well. Just make sure they are clean and dry. Avoid containers with narrow openings because the wax might not melt evenly. Metal tins are also a great cheap option. You can reuse candle jars from store bought candles after you clean them out with hot water and soap. That is practically free.
Scented Candles on a Budget
Fragrance oils are the easiest way to make your candles smell amazing. They cost around $3 to $5 per bottle and last for many candles. Essential oils are pricier but more natural. For a budget friendly option, use vanilla extract from the grocery store (yes, it works) or cinnamon sticks and dried orange peels steeped in the wax. Add your scent when the wax reaches about 185°F, right after you remove it from heat. Stir gently and test the strength. You can always add more, but you cannot take it out.
Easy Candle Making Steps for Beginners
Here is the simple process I follow every time. It takes about 30 minutes of active work, plus a few hours for the candle to set.
- Prepare your container. Stick the wick to the bottom of the jar using a dab of hot wax or a glue dot. Hold it straight with a pencil laid across the top.
- Melt the wax. Fill a saucepan with a few inches of water. Place your bowl or tin filled with wax flakes into the water. Heat on medium low. Stir occasionally until fully melted.
- Check the temperature. Use your thermometer. For soy wax, heat to about 185°F. Do not let it go above 200°F.
- Add scent and color. Remove the bowl from heat. Stir in your fragrance and any dye (crayon shavings work for color). Use about 1 tablespoon of scent per pound of wax.
- Pour the wax. Let the wax cool to around 135°F to 145°F. Slowly pour it into your container, leaving about half an inch at the top.
- Let it set. Keep the wick centered as the wax cools. Do not move the candle for 24 to 48 hours. Trim the wick to 1/4 inch before lighting.
That is all there is to it. Your first candle might not be perfect, but it will burn and smell great.
Budget Candle Gift Ideas
Homemade candles are some of the most thoughtful gifts you can give, and they cost you almost nothing per candle. Fill small jars with layers of different colored wax for a striped look. Tie a piece of twine around the jar and add a handwritten tag. You can also make candle sets: three small candles in a box with a note about the scents. For holidays, use red and green wax or add cinnamon sticks inside the jar. People genuinely love receiving something you made yourself, and you save a ton of money compared to store bought gifts.
Candle Making Tips for Beginners
Here are a few things I wish someone had told me before I started. First, never leave melting wax unattended. Wax is flammable, and a double boiler keeps it safe but you still need to watch it. Second, do not add too much fragrance. More does not mean stronger. It can ruin the burn. Third, let your candles cure for at least a day before lighting them. The scent gets stronger over time. Fourth, keep your work area clean. Spilled wax can be removed with a paper towel and a little heat, but it is easier to avoid messes. Lastly, write down what you do. That way you can repeat your favorite candle recipe perfectly next time.
Making candles on a budget is totally doable. Grab some soy wax, a few jars, and your favorite scent. You will be surprised at how much joy a simple homemade candle can bring. Try making one this weekend. Your home (and your wallet) will thank you.
#diycandlemaking #budgetcandles #homemadegifts #candlecrafts #candlemakingtips
This post was researched and drafted with AI assistance, then personally reviewed and edited by Diana before publishing.
Leave a Comment