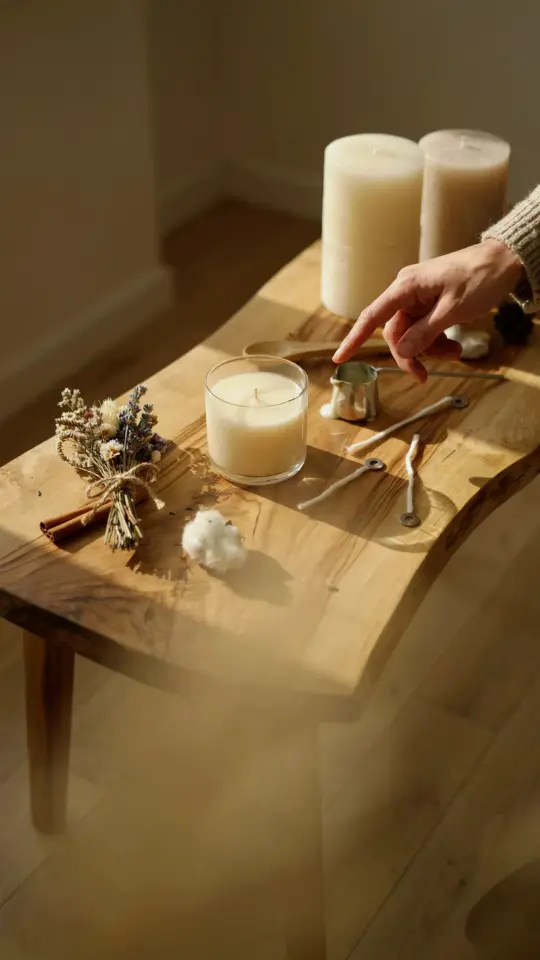
Honestly, I used to think making my own candles required a chemistry degree and a dedicated workshop, but after a few messy afternoons I realized that diy candle making is mostly about melting wax, picking a jar, and being patient while it sets. That first batch of homemade candles I made looked like lumpy, sad little jars, but they smelled so good I didn’t care. Here’s the thing: you do not need a fancy kit to start, and the decor you can create with a few simple supplies will surprise you. So I gathered my favorite candle decor ideas into a roundup of themes, each one a different way to use the same basic technique. Ok, so let’s get into them.
Minimalist Soy Wax Candles in Clean Glass Jars
This is where I tell you to raid your recycling bin. Really. Those small jam jars, old spice jars, or even short shot glasses make perfect vessels for a no-fuss, modern look. The trick is to use simple soy wax candle making and keep the color clear or a pale ivory. I like to add just three drops of lavender essential oil and two of cedarwood. Not gonna lie, I once put in twelve drops of peppermint and it was like a sinus-clearing bomb. Learn from me.
For the wick, glue a pre-tabbed wick to the bottom of the jar with a hot glue dot. It takes two seconds. Hold the wick straight with a chopstick or a pencil laid across the mouth of the jar. Pour your melted soy wax at 135°F (if you don’t have a thermometer, wait for the wax to look like liquid honey and feel warm but not burning to the inside of your wrist). Let it cool overnight. That is it. Minimalist, clean, and you can line them up on a windowsill for instant candle decor.
And here is a weird little aside: my cat Mabel once jumped onto the table and sat directly on a warm jar. She did not get hurt, but the jar moved and left a wax smudge that looked like a paw print. I kept it. Now it’s my favorite candle.
Rustic Vintage Tins and Teacup Candles
If clean glass feels too sterile, dig through thrift stores for old tea tins or mismatched teacups. These make excellent vintage candle decor ideas because the rough edges and painted patterns add instant character. I found a beat-up blue tin that originally held Earl Grey tea, and after a quick wash it became my go-to reading nook candle. The trick with metal tins is to use a wick that has a metal sustainer tab (not a sticker tab) because metal gets hotter. Also, do not fill the tin all the way to the rim; leave a half-inch gap so the wax doesn’t overflow when it melts.
For teacups, you need to anchor the wick carefully because the curved bottom can let the wick drift. I use a dab of wax on the table to hold the wick base in place while the glue sets. Pour the wax slowly. Another human moment: I once dripped wax onto my kitchen floor and thought I’d ruined the linoleum. It scraped right off with a butter knife. So do not panic if you spill.
These candles feel like a cozy afternoon in a grandmother’s house, but they look modern enough to gift. Anyway, moving on.
Layered Scented Candles with Ombre Color
Look, this sounds fancy, but it is just pouring wax in stages. You make one batch of wax, split it into two or three containers, and add different amounts of dye (or mica powder) to each. The darkest color goes first. Let it cool until a skin forms (about 20 minutes), then pour the next lighter shade. For a layered scented candles tutorial that actually works, pick scents that layer well together. I do vanilla bean for the bottom, then a touch of cinnamon, then a top layer of orange. Smells like a holiday cookie.
The hardest part is waiting. If you pour the next layer while the previous one is still liquid, the colors bleed together and you get a muddy swirl. That can look cool too, actually, but for clean stripes you need patience. Put your candle in the fridge for ten minutes between layers to speed things up, but not too cold or the glass might crack. Use a metal jar, not crystal. Learned that one the hard way.
One more tip: use a chopstick to gently poke a few bubbles in the top layer before it sets. Otherwise they look like acne. Not cute.
Dried Flower and Herb Candles for Natural Decor
I have a love-hate relationship with this dried flower candle decoration method. Love the result, hate the moment when a petal catches fire. So here is the safe way. You do not put loose dried flowers on top of the candle and light it. Instead, press the dried petals into the sides of the jar before you pour the wax. Use a thin layer of melted wax on the glass as ‘glue’, stick on chamomile buds, rose petals, or sprigs of dried rosemary, then pour your main wax slowly. The flowers remain visible on the outside of the candle, not near the flame.
Another approach: embed the herbs into the top surface of the candle after it has set, but leave a clear wick area of about an inch all around. I use dried lavender, rosemary, and a few crumbled bay leaves. The heat releases a very faint herbal note. Not gonna lie, it is subtle, but the visual is beautiful. If you want strong scent, stick with essential oils and keep the flowers purely decorative.
Important note: fresh herbs or damp flowers mold inside wax. Only use completely dehydrated botanicals. Trust me, I made a moldy lavender candle once and the smell was not relaxing.
Floating Candle Centerpieces for Dinner Parties
Ok, so these are less ‘candle making’ and more ‘candle shaping’, but they fit here. Use a silicone mold (square or round) to make small disk-shaped candles that sit on the surface of water. You can buy a simple sphere mold from a craft store. Melt wax, add a pop of color like a pale pink or a soft sage green, pour into the mold, and insert a short wick in the center. For a floating candle centerpiece DIY, arrange four or five of these in a shallow bowl of water with floating flower heads (real or silk) and a few slices of lemon or orange. The water reflects the flame and it is ridiculously pretty.
One weird detail: I tried this with tap water and the minerals created a white ring on the bowl. Now I use distilled water for clear glass vessels. Or just deal with the ring. It’s not the end of the world. The candles themselves float because wax is less dense than water. Make sure the wick is stubby, no more than half an inch tall, so the flame doesn’t set the water surface on fire. Use common sense. Honestly, you’re fine.
These also make a quick gift: slide two floating candles into a cello bag with a tiny bottle of water and a note. People love that.
Giftable Homemade Candles in Small Jello Jars
Last theme, and probably the one I make most often. Small 4-ounce jars (like the kind from old applesauce or baby food) are perfect for giftable homemade candles. They burn in about 8 hours total, which means someone can actually finish the candle and feel satisfied. Use a simple soy wax, a single scent like vanilla or lemongrass, and tie a piece of jute string around the rim. Done.
I like to make a dozen at once. I line up the jars on a baking sheet, melt two pounds of wax, and pour them in one go. It takes less time than making a single large candle. Then I package them in a small cardboard box with a printed label that says ‘warm hug’ or ‘breathe’. They look like something from a boutique, but each one costs maybe a dollar fifty. I give them as hostess gifts, teacher gifts, or just because.
One thing I hate about some tutorials: they say you need to add fragrance oil at exactly 185°F. I don’t have a thermometer every time. So I just let the wax cool until it looks like thick milk, stir in the oil, and pour. Works every time. Nobody has complained yet.
Making candles at home feels less like a craft project and more like a ritual. You heat, you pour, you wait, and you end up with something that fills a room with both light and scent. Start with one jar, mess it up a little, then try another. If you want to save these ideas for later, pin this article or bookmark it. And when you make your first candle that actually looks nice, light it and enjoy the glow.
#diy candle making #candle decor #candle making tutorial #homemade candles #easy diy candles
This post was researched and drafted with AI assistance, then personally reviewed and edited by Diana before publishing.
Leave a Comment