Last month I watched a friend pay 48 dollars for a small candle that looked like a scoop of vanilla mousse on top of a jar. It was pretty, sure, but honestly? That price made my eyes water. The good news is that same fluffy, cloudy candle look is ridiculously easy to make at home, and the whole project costs less than a single fancy coffee. I tested this DIY candle making idea twice this week and I’m still amazed at how simple it is.
Here’s my curated roundup of the best budget ways to make this gorgeous cloudy candle, broken down by theme. Some of these are classic techniques, a few are tweaks I discovered by accident, and one is a straight-up warning about what not to do. You’ll find it all below.
How to Get That Cloudy Candle Look Without Expensive Molds
Ok so the secret is that you don’t need a special silicone mold at all. You just need a regular container, some wax, and a whisk. The cloud effect comes from whipping the wax as it cools, which creates those soft peaks that look just like a cumulus cloud. I tried this with a cheap glass jar from the thrift store and it worked perfectly.
My first attempt looked more like lumpy mashed potatoes than a cloud, so if that happens, just re-melt and try again. The good news is that wax is forgiving, and you can always scrape it back into the pot without wasting any material.
The Only Candle Making Supplies You Actually Need for This Project
You don’t need a big craft haul to start. I promise, the supply list here is shorter than your grocery list.
- 1 pound of soy wax (about $8 at craft stores, but you can also use wax leftover from old candles)
- A container or jar you already own
- A whisk, or a fork if you’re desperate
- A candle wick with a tab on the bottom
- A pot for melting, and please don’t use your favorite non-stick pan for this
See? That’s it. No expensive kits, no fancy fragrance oils required. You can skip the scent entirely or use a drop of vanilla extract if you want it to smell like something. But honestly, the plain wax smell is fine too, it’s very subtle and clean.
My Favorite Whipped Wax Technique for a Fluffy Finish
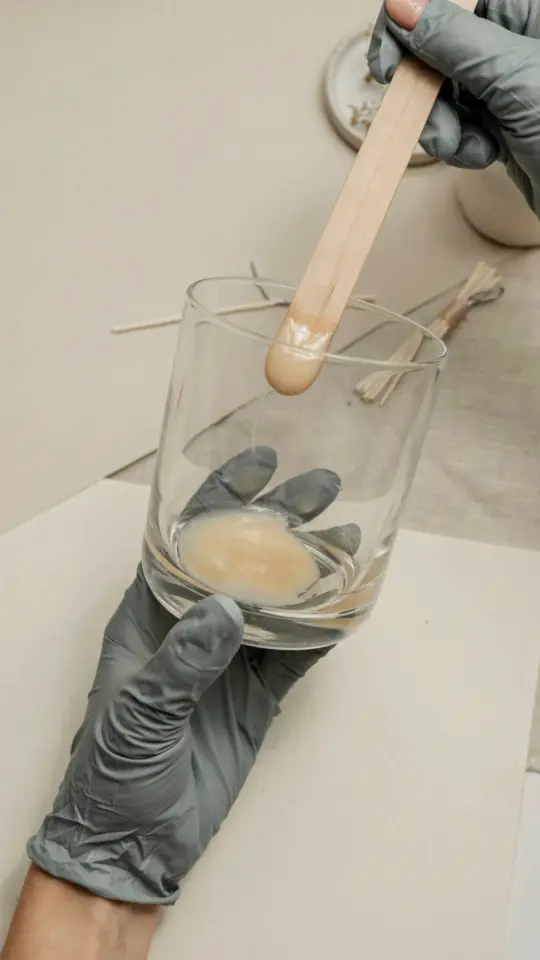
Here’s the thing, whipping wax is different from whipping cream. You have to warm it to the right temperature, then let it cool down to almost thickened before you start. I usually wait until it looks like thin honey, then use a hand mixer on low speed. Work fast, because it sets quickly.
And here’s a weird little detail: I keep a separate cheap whisk just for candles now. It came from a dollar store and it’s got a bent wire, no idea why. But it makes the fluffiest clouds, so I’ve stopped trying to fix it.
You want soft, billowy peaks, not stiff ones. Stop when the wax looks like marshmallow fluff. If you keep going, it gets crumbly and weird, but you can still melt it down and start over.
Cheap Fluffy Candle Decor Styling Ideas
Candles that look like clouds are already cute, but you can make them even better with stuff you have at home. Place a few on an old wooden tray, or put one on a stack of thrifted books. The fluffy white texture looks amazing against dark backgrounds.
- Put a cloudy candle on a cake stand for instant bakery vibes.
- Cluster three small ones on a windowsill with some dried flowers.
- Use a tinted or colored container so the white cloud pops.
- Add a pinch of cinnamon to the wax for a speckled, almost cookie-like look.
I saw one person top theirs with a tiny plastic bee from a craft store. Did it look realistic? No. Does it matter? Also no. It was adorable.
Common Cloudy Candle Mistakes and How to Fix Them
Most DIY candle making fails come from rushing. If your wax is too hot, it won’t whip and just stays liquid. Too cold, and it hardens into clumps. You want the sweet spot, which is around 130 to 140 degrees Fahrenheit, though I eyeball it.
Another mistake is using too much wax. The fluffy texture doubles in volume, so fill your container only halfway before whipping. I learned this the messy way when my cloud spilled over the rim and dripped down the jar. My kitchen counter still has a tiny wax spot from that incident, and honestly, I’m not mad about it. It’s a reminder to measure less next time.
Don’t panic if your first batch looks lopsided. Just let it set, then use a spoon to scoop off some extra wax and re-melt it to fill any gaps.
Budget DIY Candle Making for Gifts
Because this project is so cheap, it makes a fantastic gift. A cloudy candle in a cute thrifted mug costs about two dollars to make and looks like you bought it at a boutique. I gave one to my neighbor with a handwritten tag that said “made with recycled wax and a questionable whisk.” She loved it.
For a group of friends, organize a little candle-making night. Everyone brings a jar, you supply the melted wax, and you all go home with different cloudy candles. It’s a great budget diy activity that doesn’t involve buying plastic gifts or spending money on activities that last only an afternoon.
A Quick Word on Safety When Working With Hot Wax
Look, I’m no professional, but I’ve made enough candles to know that hot wax is no joke. Melt your wax in a pot you don’t use for food, and always use a thermometer if you have one. Never heat wax in the microwave unless you really know what you’re doing, that’s how people get burned.
Keep a baking soda nearby just in case of a fire. And don’t leave the melting wax unattended. I usually set a timer on my phone, even if I’m just walking to the other room, because it’s way too easy to get distracted and come back to an overheated mess.
Also, let the candle cure for at least 24 hours before lighting it. The cloud texture stays fluffy once it’s set, but it will soften a bit over time if you store it in a warm place. After that, it’s ready to burn normally, though it might have a slightly uneven surface while it burns, which I actually find charming.
So there you have it, a truly fluffy cloudy candle for a fraction of what shops charge. It’s one of those budget diy projects that looks way more impressive than it has any right to. Next time you’re tempted to spend 30 dollars on a piece of scented wax, try making your own instead. Your wallet, and your coffee table, will thank you.
If you give it a try, tell me how your clouds turn out. I’d love to hear which container you used and whether you managed to avoid a wax disaster.
This post was researched and drafted with AI assistance, then personally reviewed and edited by Diana before publishing.
Leave a Comment