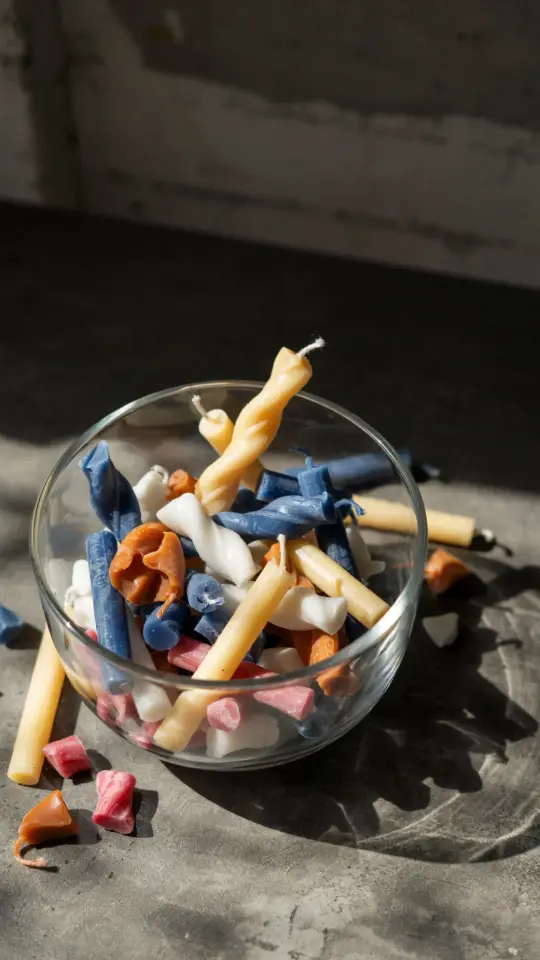
I still remember the first time I tried to make recycled candles. I melted a bunch of old leftover wax in a glass jar on the stove, poured it into a mason jar with a cotton string, and ended up with a lumpy, smoky mess that barely burned for an hour. That was three years ago. Today, those same recycled candles are my bestsellers at local craft fairs, and I sell them online faster than I can make them. The secret isn’t fancy equipment or expensive fragrances. It is a simple, repeatable process that turns trash into something people actually want to display on their coffee tables. This tutorial walks you through exactly what I learned, step by step, so you can skip my early mistakes and get good results on your first try.
Why I Started Recycling Wax (and Why It Works Better Than New Wax)
I started making homemade candles because I hated throwing away half-burned jars from the store. Each time I cleaned out a candle, I saw perfectly good wax going into the trash. So I began collecting the stubs and experimenting. What I discovered surprised me: recycled wax often burns slower and cleaner than brand new paraffin, because it has already gone through a first melt that removed impurities. My early batches still had problems though. Soot, weak scent, and ugly tops were common. Over time I learned that the trick is not just melting old wax, but preparing it properly. The method I share here is the one that finally gave me consistent, beautiful candles that friends started asking to buy.
How I Collect and Prepare Leftover Candle Wax
I save wax from three main sources: finished store-bought candles, old pillar candles that no longer fit their holders, and wax melts that have lost their scent. The key is to avoid mixing different wax types too aggressively. Paraffin and soy can blend, but beeswax behaves differently and needs separate handling. Here is my simple collection system:
- Keep a dedicated container (an old shoebox or glass jar) for candle stubs and broken pieces.
- Remove metal wick tabs and any glued-in decorations before adding wax to your collection.
- Separate beeswax from soy or paraffin, or plan to use it as an accent (10% or less in a blend).
- Store wax in a cool dry place, and discard any pieces that smell rancid or have mold on the wick.
When I have about two pounds of mixed wax, I start a new batch. That amount fills roughly four 8-ounce jars, which is perfect for a weekend project.
The Basic Tools I Use for DIY Candle Making at Home
You do not need a professional setup. My DIY candle making station is just a kitchen counter with a few specific items. A cheap stainless steel pouring pitcher that I only use for wax is essential. I also use a digital kitchen scale (accurate to one gram), a candy thermometer, and a small heat gun for smoothing surfaces. For wicks, I buy cotton core wicks in a few sizes because different jar widths need different wick thicknesses. I use wooden skewers or pencils to hold the wicks centered while the wax sets. And I always keep a box of baking soda nearby in case of spills. That is it. No wax melter, no fancy silicone molds, just practical tools that cost under forty dollars total.
My Exact Method for Melting and Pouring Old Wax
The biggest mistake I made early on was overheating the wax. Recycled wax often contains bits of carbon or dust, and high heat makes those particles create soot. I now use a double boiler method: fill a saucepan with two inches of water, place my pouring pitcher inside, and heat on medium low. The water should simmer, never boil hard. I melt the wax slowly, stirring occasionally with a wooden chopstick, and stop heating when it reaches 170°F. Then I let it cool to 150°F before adding any fragrance. If the wax came from scented candles originally, you might not need additional fragrance, but I usually add a little anyway for consistency. I pour at 135°F for soy-heavy blends or 145°F for paraffin. This temperature range gives a smooth top without
#recycledcandles #diycandlemaking #candledecor #homemadecandles #waxrecycling
This post was researched and drafted with AI assistance, then personally reviewed and edited by Diana before publishing.
Leave a Comment