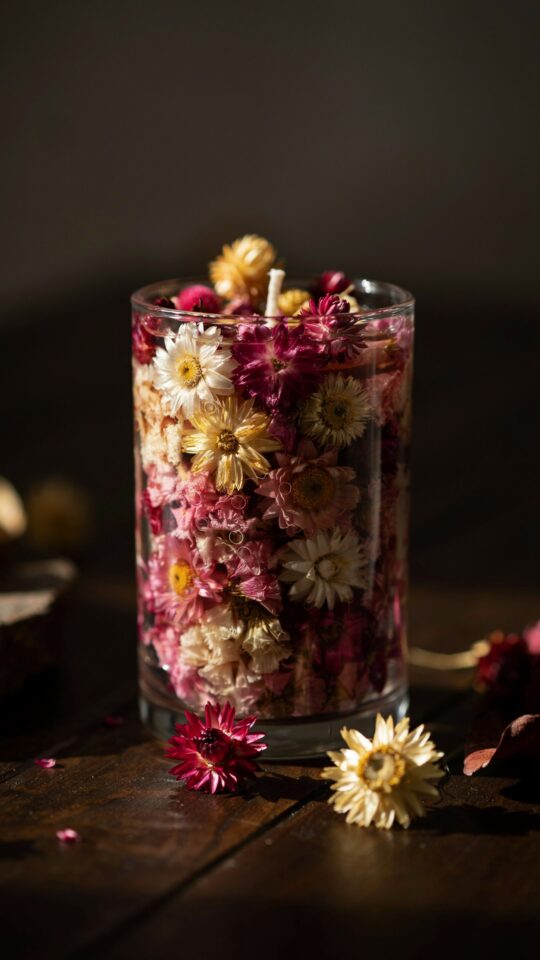
If you’re looking for a thoughtful homemade present that feels both personal and beautiful, a DIY flower candle might be exactly what you need. This project combines the gentle glow of a soy candle with the delicate look of pressed flowers, making it a natural fit for a Mother’s Day gift or a unique piece of candle decor. The best part? You don’t need any prior candle making experience to pull it off. I’ll walk you through every step, from choosing your flowers to pouring the wax, so you can create something truly special without the stress.
Materials You Need for a Pressed Flower Candle
Before you start, gather a few basic supplies. Most of these can be found at a craft store or ordered online. For a beginner, I recommend keeping things simple and using a small heat safe container like a tin or a glass jar.
- Soy wax flakes (natural, clean burning, and forgiving for beginners)
- Candle wicks with a metal tab (size depends on your container diameter)
- Dried or pressed flowers (thin petals work best, like lavender, daisies, or rose petals)
- Heat safe container (tin, mason jar, or ceramic cup)
- Double boiler or a saucepan and a heat safe pouring pitcher
- Tweezers and a toothpick (for placing flowers)
- Small glue dots or a dot of melted wax (optional, to hold flowers in place)
I prefer using a tin because it doesn’t require a glue dot for the wick and it distributes heat evenly. But any container you like works fine. Just make sure it’s clean and dry.
Choosing and Drying Flowers for Your Candle
Fresh flowers contain moisture, which can cause the wax to crack or even lead to mold inside the candle. That’s why you need to use fully dried or pressed flowers. Start a few days ahead by picking flowers and pressing them between the pages of a heavy book. Change the paper every day if you can.
Look for flowers with flat petals that won’t poke through the wax. Rose petals, baby’s breath, lavender sprigs, and small fern leaves work beautifully. Avoid thick stems or fleshy blooms because they hold too much water. I once tried using a whole daisy head and ended up with a tiny bubble of moisture near the wick. Stick with the delicate parts.
Beginner Friendly Soy Wax Pouring Tutorial
Melting soy wax is straightforward, but you do need to watch the temperature. Start by placing your wick in the center of the container. You can secure it with a dot of hot glue or just hold it in place with a wick holder (a pencil or chopstick works fine).
Melt the wax in a double boiler over low to medium heat. Stir occasionally with a wooden spoon or a chopstick. You want the wax to reach about 170-180°F (77-82°C). If you don’t have a thermometer, wait until the wax is fully melted and just starts to look clear. Do not overheat it because soy wax can scorch. Once melted, let
#diyflowercandle #pressedflowercandle #motherdaysgift #candledecor #diycandle
This post was researched and drafted with AI assistance, then personally reviewed and edited by Diana before publishing.
Leave a Comment