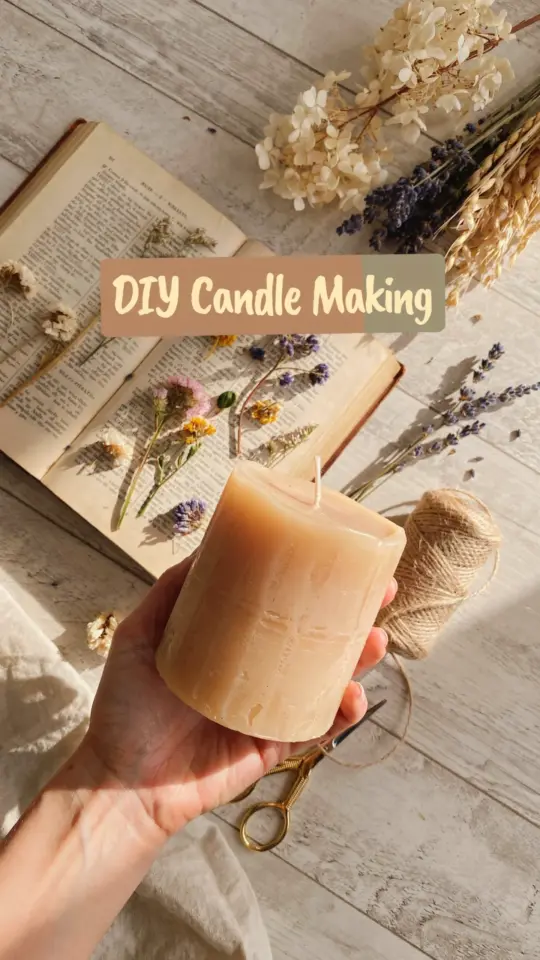
I remember the first time I tried making a diy floral candle. I had a stack of plain white pillar candles from the thrift store, a bag of dried flowers from a failed attempt at pressing them for scrapbooking, and absolutely no idea what I was doing. The internet made it look so simple: press flowers onto wax, get a gorgeous nature-inspired decor piece. My first attempt ended with a scorched iron, melted flower petals stuck to everything, and a candle that looked like it had been through a blender. But after a few more tries, I figured out what actually works. This guide is what I wish someone had told me before I started.
Choosing the Right Candles for Your Dried Flower Decor
Not every candle works well for pressing dried flowers onto it. I learned that the hard way. Pillar candles with a smooth, flat surface are your best bet. Taper candles are too narrow and the heat can warp them. Votives are small but the curve makes it hard to get a clean press.
Look for candles that are at least 2 inches in diameter. The wax should be solid and not too soft. Soy wax candles are my favorite because they have a slight tackiness when warm, which helps the flowers stick. Avoid highly scented candles with a lot of additives, because the oils can make the wax grab the petals unevenly. I also recommend candles with a flat top. If the top is concave, the heat from the iron will pool in the dip and you will get uneven melting.
How to Source and Prepare Dried Flowers for Your Project
You can buy dried flowers at craft stores, but I like to dry my own. It gives me more control over the color and shape. Flat flowers press the best. Think pansies, violas, ferns, baby’s breath, or small rose petals. Thick or chunky flowers like lavender buds or whole roses are too bulky and will stick out unevenly.
To dry flowers, I use a simple book press method between two sheets of parchment paper inside a heavy book. Leave them for about two weeks. Do not microwave them, they will turn brittle and crumble when you apply heat. When you are ready to use them, handle them gently. They are fragile. If you break a petal, that is fine, you can press it on as a smaller piece.
Pro tip: Do not use flowers that still have any moisture. They will mold inside the wax over time. I once used a slightly damp daisy and the candle smelled like a damp basement after a month.
The Simple Iron Method for Pressing Flowers onto Wax
This is the step that trips most people up. The idea is to use low heat to slightly melt the wax surface so the dried flower sinks in and becomes part of the candle. Here is my exact process:
- Set your iron to the lowest heat setting, no steam. Let it warm up completely.
- Place a sheet of parchment paper over the area where you want the flower. Lay your dried flower on top of the parchment, face down or face up depending on the look you want.
- Cover the flower with another sheet of parchment. This sandwich protects the flower from direct heat.
- Press the iron gently on top for 5 to 10 seconds. Do not slide it around. Lift straight up.
- Peel back the top parchment carefully. If the flower is not fully adhered, give it another 5 seconds. If the wax is pooling, the heat is too high.
Work in small sections. I do one flower at a time. It is tedious, but rushing leads to melted messes. After pressing, let the candle cool completely. The flower should feel flush with the wax surface. If it sticks up, it will burn off when you light the candle. That is actually fine for decor, but not ideal if you want to actually burn it.
Troubleshooting Common Candle Decor Issues
You will probably run into problems. Here are the ones I faced and how I fixed them.
- Flowers turned brown or burned. Your iron was too hot or you pressed too long. Back off the heat and try a shorter press time.
- Wax melted into a puddle. The iron temperature was too high or you pressed on a soft wax area. Use a cooler setting or press on the side of the candle, not the top.
- Flowers fell off after cooling. That means the wax did not soften enough to seal them in. Try pressing a little longer, or use a hair dryer on low to warm the surface before pressing.
- Petals crumbled during pressing. The flowers were too dry or too old. Use fresher dried flowers or handle them with tweezers to avoid breaking them.
I also had a candle where the flowers looked perfect but the surface got a weird texture, like orange peel. That happened because I pressed on a candle that had a glossy coating. If your candle is coated, you can gently sand the surface with fine grit sandpaper before starting. That extra step makes a big difference.
Creative Variations for Homemade Candles as Gifts
Once you get the basic method down, these diy floral candles
#diyfloralcandle #driedflowercandle #candledecor #homemadecandles #easycraft
This post was researched and drafted with AI assistance, then personally reviewed and edited by Diana before publishing.
Leave a Comment