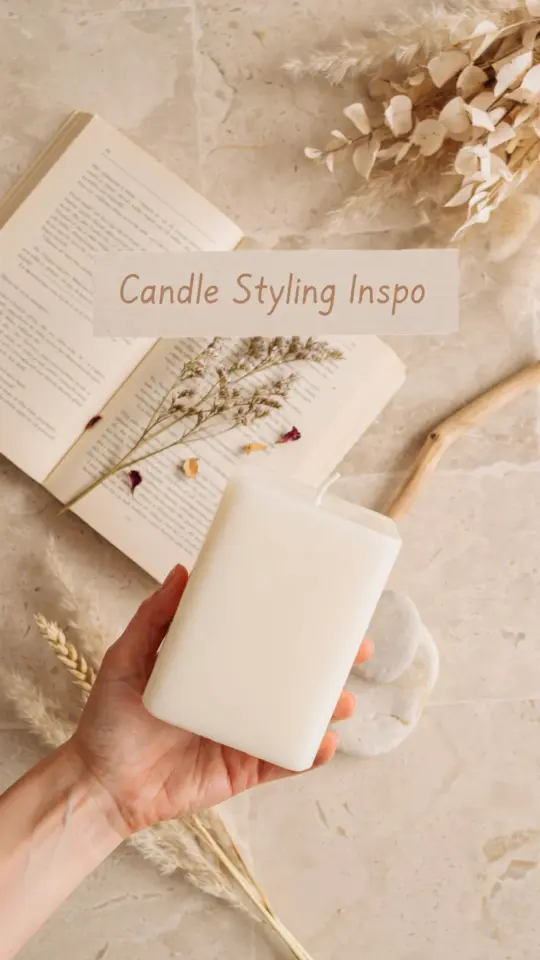
If you have ever tried to press dried flowers onto a candle only to watch them crumble or slide off, you are not alone. A DIY floral candle is one of those projects that looks simple in photos but can go sideways fast. I have ruined more candles than I care to admit before I figured out the right technique. The good news is that most of those failures come down to a handful of repeatable mistakes. Once you know what they are, you can turn a plain candle into a preserved botanical piece that actually stays put.
Mistake #1: Using Fresh or Damp Botanicals for Candle Decor
The biggest rookie error is pressing fresh flowers or stems onto a candle. Fresh plant material contains moisture that will not dry evenly inside the wax. As the moisture slowly escapes, the flower discolors, the candle surface becomes sticky, and sometimes mold forms underneath the petal. Stick to completely dried flowers and grasses. I prefer ornamental grasses, baby’s breath, dried fern fronds, and pressed flat flowers like larkspur or pansies. Anything that feels papery and brittle is safe. If you can still squeeze moisture out of a stem, keep it off the candle.
Mistake #2: Skipping the Candle Surface Preparation
A smooth, clean surface is essential for the wax to bond with the botanicals. Many tutorials skip this step and then wonder why the petals peel off. Before you start, wipe the candle with rubbing alcohol to remove dust, fingerprints, or any factory residue. Let it dry completely. If the candle has a textured or matte finish, consider lightly buffing it with a soft cloth. You do not need sandpaper, just a gentle rub to create a tiny bit of grip. This one minute of prep saves you from redoing the whole design later.
Mistake #3: Applying Too Much Heat When Pressing Dried Flowers
The iron method works beautifully, but only if you use the right temperature and the right barrier. A hot iron directly on a petal will scorch it, melt it into the wax, or create a bubbled mess. I set my iron to the lowest synthetic heat setting with no steam. Then I place a thin piece of parchment paper over the candle and flower arrangement. I press the iron gently on the parchment for about five seconds, lift, check, and repeat if needed. Too little heat and the flower barely sticks. Too much and you burn the botanical. With parchment and low heat, you have total control.
Mistake #4: Forgetting to Seal the Floral Candle Design
Once the flowers are pressed into the wax, they look gorgeous. But without a seal, they will eventually fall off or collect dust in the crevices. A simple protective layer keeps the design intact. After the flowers are cool, I apply a thin coat of mod podge or a clear candle-safe sealant with a soft brush. You can also use a hairdryer on low to gently remelt a micro-layer of wax over the flowers, but that takes practice. For most people, a brush-on sealant is safer and more reliable. Let it dry fully before handling the candle.
Checklist of Dried Flowers That Work Well for Candle Styling
- Ornamental grasses (pampas grass plumes, foxtail millet) – give linear texture
- Baby’s breath – tiny clusters press flat and look delicate
- Pressed ferns – add a woodland feel and hold their shape
- Larkspur or delphinium – thin petals press evenly
- Pansies or violas – flat, colorful, and easy to position
- Strawflowers – keep their vibrant yellow or orange
- Lavender buds – small and aromatic, but use sparingly
Stay away from thick, bulky flowers like roses or carnations unless you press them separately first. A chunky petal will not sit flush against the candle surface and will block the heat transfer.
Mistake #5: Placing Flowers Too Close to the Wick
Safety matters even in decor. If a flower or dried grass sits within half an inch of the wick, it can catch fire when the candle burns. I always leave a clear, bare zone around the wick. For taper candles, I keep the top two inches clear. For pillar candles, I avoid any plant material near the top edge where the flame will reach. You can still cover the rest of the candle beautifully. Just keep
#DIYFloralCandle #CandleDecor #DriedFlowerCraft #CandleStyling #HomeCraft
This post was researched and drafted with AI assistance, then personally reviewed and edited by Diana before publishing.
Leave a Comment