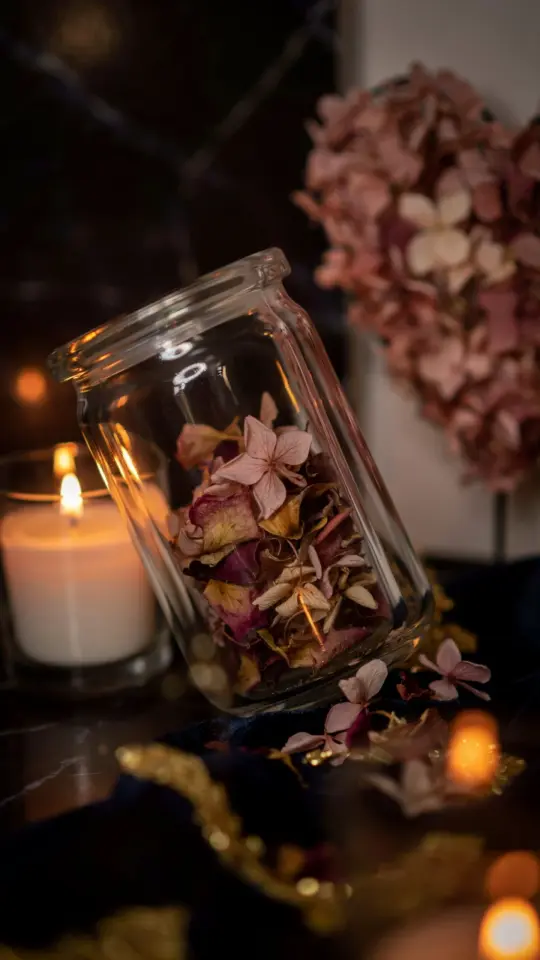
I first stumbled across the idea of a DIY eternal candle while looking for a way to keep my coffee table from looking cluttered but still cozy. You know those candles that burn down in a few hours and leave a sad little puddle of wax? I wanted something that looked like a candle was always burning, without actually needing to light it or replace it every week. After some trial and error, I figured out a simple method that gives a never-ending aesthetic candle effect using everyday craft supplies. If you are into candle making or just love homemade candle decor, this project will save you money and look great for years.
Why I Love the Eternal Candle Concept for Home Decor
I have tried plenty of decorative candles that either look fake or require constant maintenance. The eternal candle is different. It mimics the glow and texture of a real candle, but it never burns down and never needs a lighter. That means no soot on your shelves, no melted wax drips onto your table, and no worrying about fire safety if you have curious pets or kids. For me, it became a centerpiece that stays beautiful through all seasons. I have one on my nightstand and another on the mantel. They add a soft, ambient feel even when off, and the best part is I can swap the “flame” element whenever I want a change.
Materials You Actually Need for This Candle Making Project
You do not need a lot of fancy equipment. I collected most items from my existing craft stash or a quick trip to the dollar store. Here is what worked well for me:
- A clear glass jar or vessel (I used a thrifted apothecary jar, but any heat-safe glass works)
- Paraffin or soy wax flakes (I prefer soy because it is easier to handle and has a subtle natural scent)
- A pre-tabbed cotton wick (even though we will not burn it, a real wick makes the look authentic)
- Wick holder or two pencils (to keep the wick centered while pouring)
- Decorative pebbles, sand, or dried flowers (for the base layer and visual interest)
- A small LED tea light or flickering flame bulb (this gives the “never-ending” glow without heat)
- Hot glue gun or strong craft glue (to attach the LED light inside)
That is basically it. You can also add a drop of fragrance oil to the wax if you want a subtle scent, but keep it light so it does not overpower the room.
Step by Step: Building the Base and Wick
First, I cleaned my jar thoroughly and made sure it was dry. Then I added a thin layer of decorative pebbles at the bottom. This serves two purposes: it looks nice and it lifts the LED light slightly so the flame appears above the wax line later. I then took a small piece of craft foam and cut a disk just big enough to cover the pebbles. This disk will hold the LED tea light. I glued the disk to the pebbles using hot glue and let it set. Next, I threaded the cotton wick through a small hole in the foam disk so it stuck up about an inch above where the wax surface would be. I used a pencil laid across the jar rim to keep the wick centered. The wick is purely decorative, but it makes the candle look real when you peek at it.
How I Got the Wax Pour Right Without a Mess
This part was tricky the first time. I melted my soy wax in a double boiler (a glass bowl over a pot of simmering water). You want to heat it to around 170°F, but not hotter or it might cloud. Once melted, I let it cool to about 130°F before pouring. I poured slowly into the jar, stopping about an inch from the top. The key is to pour in a thin stream to avoid trapping air bubbles. I also tapped the jar gently on the counter to release any bubbles that did form. Then I let it sit undisturbed for a couple hours until the wax was solid. If you see a sinkhole around the wick, you can use a heat gun or hair dryer on low to smooth it out. I did that on my second try and it came out perfectly smooth.
The Secret to a Realistic “Never-Ending” Glow
After the wax hardened, I removed the pencil and trimmed the wick to about half an inch above the surface. Then I took my LED tea light and placed it on the foam disk I had hidden under the wax. Wait, you might think the LED would be visible through the wax. It is not, because I left a small gap at the bottom. Actually, I poured the wax only up to a point where the LED sits below the wax. The light shines up through the translucent wax and the wick, creating a soft flicker that looks just like a real flame. I
#DIYcandle #EternalCandle #CandleDecor #AestheticCandle #CandleMaking
This post was researched and drafted with AI assistance, then personally reviewed and edited by Diana before publishing.
Leave a Comment