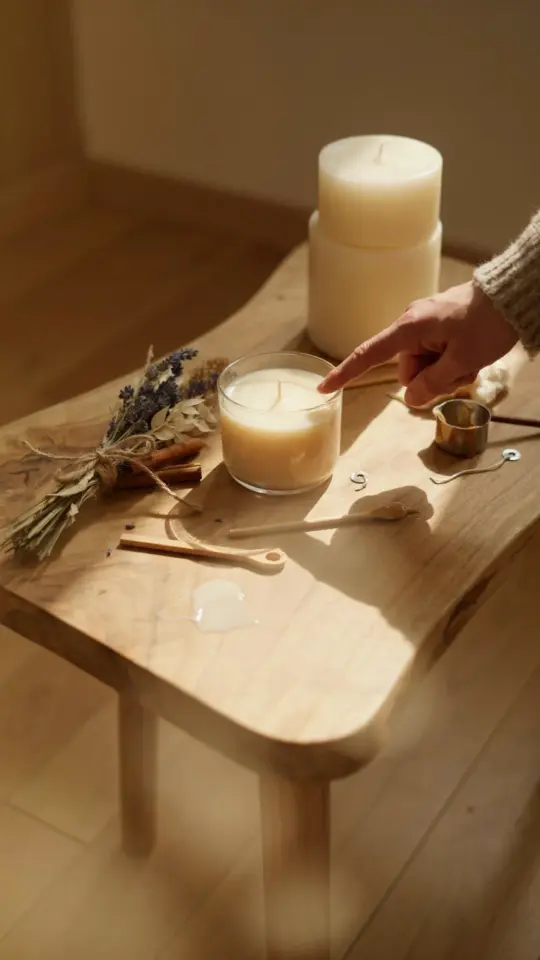
Making your own candles at home has become one of my favorite weekend activities. It is simpler than most people think, and the results fill your home with warmth and a personal scent that no store‑bought candle can match. DIY candle making does not require a fancy studio or expensive equipment. With a few basic supplies and a little patience, you can create beautiful scented candles that look great on any shelf. Whether you want to decorate your living room, give a handmade gift, or simply enjoy the calming process of melting and pouring wax, this guide will walk you through every step.
What You Need to Start Making Candles at Home
Before you melt anything, gather your supplies. Most items are easy to find online or at craft stores. I recommend starting with a small batch so you can test the process without wasting materials.
- Soy wax flakes – natural, clean‑burning, and beginner‑friendly.
- Candle wicks – choose cotton wicks with a small metal tab at the bottom.
- Glass jars or tin containers – mason jars, repurposed tea cups, or dedicated candle tins work well.
- Essential oils or fragrance oils – pick scents you love (lavender, vanilla, citrus are safe bets).
- Double boiler or a heat‑safe bowl and pot – never melt wax directly on the stove.
- Thermometer – a candy or candle thermometer helps you hit the right temperature.
- Wooden skewer or chopstick – for stirring and centering the wick.
- Old towels or newspaper – to protect your counter from wax drips.
Do not skip the thermometer. I once tried to judge wax temperature by eye and ended up with a lumpy, uneven candle. Trust the numbers.
Choosing the Right Wax for Your DIY Candles
Soy wax is my go‑to for home candle making. It is natural, burns slowly, and holds scent well. Paraffin wax is cheaper but gives off more soot and is petroleum‑based. Beeswax smells amazing on its own but costs more and has a higher melting point, which can be trickier for beginners. For your first few batches, stick with soy wax flakes labeled “container wax.” That type is designed to cling to the sides of your jar and create a smooth, even burn.
If you are making candles as gifts, soy wax also looks clean and creamy. It does not require any additives like vybar or stearic acid unless you want a very hard candle. Keep it simple. Read the package instructions for melting temperature because different brands vary slightly.
Selecting Wicks and Containers for a Safe Burn
The wick size must match your container diameter. A wick that is too small will cause tunneling (the wax melts only in the center). A wick that is too large makes the flame too big and can crack the glass. Most wick packages tell you the recommended diameter in inches. Measure your container opening and pick accordingly. For a standard 4‑inch wide jar, a medium cotton wick works fine.
Containers matter more than you think. Avoid plastic or thin glass that might break from the heat. Thick glass, ceramic mugs, or metal tins are safe choices. Make sure the container is clean and dry. If you use a jar that previously held pickles or salsa, wash it thoroughly and remove any labels. Leftover food residue can cause the wax to smell odd when melted.
How to Add Scent with Essential Oils
Essential oils create a natural, fresh fragrance, but they behave differently than synthetic fragrance oils. Essential oils are volatile and can evaporate at high heat. Always add them when the wax has cooled to about 130°F (54°C). If you pour the oil into hot wax right off the stove, the scent will fade quickly. I learned this the hard way after making a batch of lavender candles that smelled like nothing once they hardened.
Use about 1 teaspoon of essential oil per 8 ounces of wax. That gives a pleasant, medium strength. If you prefer a stronger scent, increase the oil slightly but do not exceed 1.5 teaspoons per 8 ounces or the candle may not burn correctly. Stir slowly for
#diycandlemaking #candledecor #handmadescents #homecandles #beginnercandles
This post was researched and drafted with AI assistance, then personally reviewed and edited by Diana before publishing.
Leave a Comment