Why Candle Making for Aesthetic Decor Is the Perfect Fall Hobby
There is something deeply satisfying about pulling a glass jar out of the oven, wax still liquid and warm, and knowing you created that glow from scratch. Candle making for aesthetic decor turned into my seasonal ritual last October, and it stuck. I needed something analog after staring at screens all day. Melting wax, preparing the wick with coconut oil, and pouring into a glass feels deliberate and slow. It is the kind of hobby that makes your apartment smell like a bakery in November, even if you are terrible at baking.
Right now, autumn trends are all about earthy taupes, burnt orange, and muted greens. Those colors naturally translate into dyed soy wax. You can match your candles to your throw pillows or just let them sit on a shelf as sculptural objects. Either way, you end up with decor that actually serves a purpose. And yes, your guests will ask where you bought them.
Seasonal Aesthetic Candle Making: What Wax and Scent to Choose
Not all waxes look the same when poured. For a smooth, matte finish that screams “aesthetic candle,” go with natural soy wax. It holds dye well and has a soft appearance that pairs with minimalist interiors. If you want a rustic, slightly textured look (think farmhouse autumn), beeswax is your friend. But for most DIY beginners, soy is the easiest to work with and forgiving if you mess up the temperature.
For scents, think about what you actually want your space to smell like during the season. A spicy chai or cedar and amber is cozy for chilly evenings. A fresh eucalyptus and mint works better for a bathroom or kitchen. I avoid generic “vanilla” because it can feel flat. Seasonal blends like “smoked pumpkin” or “cider and clove” are trend-aware and smell much more memorable.
The Coconut Oil Wick Trick That Improves Burn Time
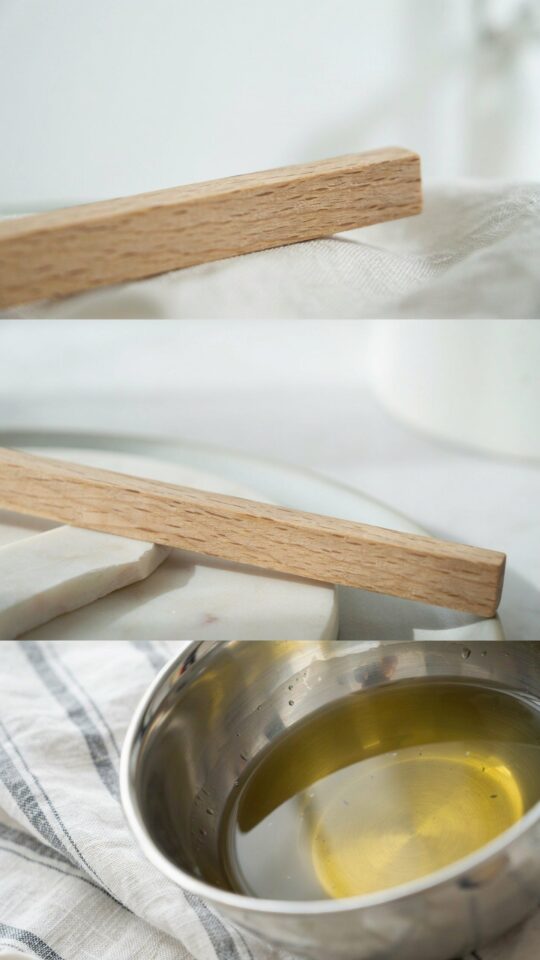
Here is a practical tip you will not find in every basic candle tutorial. Before you center your wick, dip it into a small dish of melted coconut oil and let it soak for about ten seconds. Why? Coconut oil has a low melting point, which helps the wick catch the flame faster and burn more evenly. It also reduces residue on the inside of the glass. I learned this from a candle crafter on Instagram last winter, and it made a big difference.
You only need a tiny bit. Just enough to coat the cotton fibers without soaking them completely. Then you center the wick using a wick sticker or a drop of hot glue. This step takes thirty seconds but gives your candle that “I bought this from a boutique” finish. Plus, it makes the first burn less frustrating when the wax pool does not reach the edges.
Step by Step: How to Pour a Perfect DIY Candle for Your Shelf
Let me walk you through the process I use every time. It is not complicated, but the details matter if you want a clean, aesthetic result.
- Prep the vessel. Clean a glass jar or cup with rubbing alcohol. This removes dust and helps the wax stick. I like thrifted glassware with simple shapes nothing too ornate.
- Melt the wax. Use a double boiler or a pour pitcher inside a pot of simmering water. Heat soy wax to around 170 to 180 degrees Fahrenheit. Do not boil it.
- Add color and fragrance. Stir in a soy-safe candle dye block (shave off small pieces) until dissolved. Then add fragrance oil at around 6 to 8 percent of the wax weight. Stir gently to avoid air bubbles.
- Let it cool slightly. Let the wax cool to about 135 degrees before pouring. This prevents cracking and gives that smooth, creamy top.
- Pour slowly. Tilt the glass and pour in a thin stream to minimize bubbles. Fill to about half an inch below the rim.
- Center the wick. Use a wick holder or two pencils to keep the wick straight while the wax sets. Let it sit undisturbed for 24 hours.
That is the whole process. The hardest part is waiting for it to cure. Trust me, lighting one too early will result in a sad, uneven burn. Patience pays off.
Styling Your Handmade Candles for an Instant Decor Upgrade
Once your candles are set, do not just shove them into a cabinet. Candle decor#candlemaking #aestheticcandles #diycandles #candledecor #candlecraft
This post was researched and drafted with AI assistance, then personally reviewed and edited by Diana before publishing.
Leave a Comment