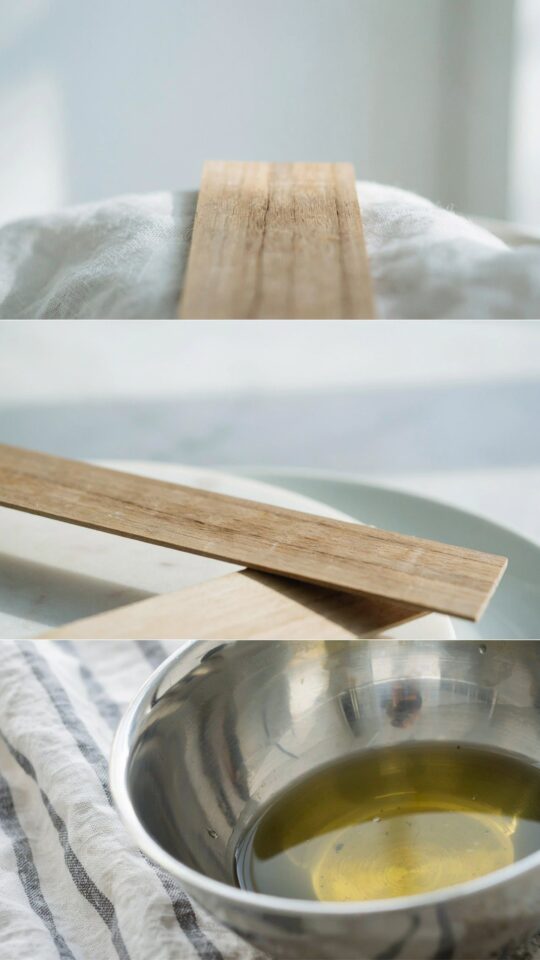
Introduction: The Meditative Art of Candle Making
There is something quietly hypnotic about the candle making aesthetic: watching solid wax melt into a clear pool, coating a simple cotton wick with coconut oil, then pouring everything into a glass vessel that catches the light. It turns a basic craft into a real ritual. I started making candles last winter as a way to unwind after long work days, and I quickly realized the process itself was just as rewarding as the finished product. Whether you are new to this or have been melting wax for years, each step offers a chance to slow down and create something that makes your home feel cozier.
Below I have gathered five distinct themes for your next DIY session. Each one focuses on a different look or texture, so you can pick the style that fits your mood. No two candles need to look the same, and that is the beauty of making them yourself.
Minimalist Glass Vessel Candles for a Clean Look
If you love the feel of a Scandinavian inspired home, start with clear glass jars or simple tumblers. The transparency lets the wax color and the wick placement become the star. I often use recycled jam jars or thrifted glass beakers because they feel both modern and budget friendly.
For this theme, stick to one or two wax colors at most. A soft neutral like warm ivory or pale blush works beautifully. When you pour, tilt the jar slightly so the wax sets at a gentle angle. This creates a subtle asymmetry that looks intentional without being busy. Add a small sprig of dried lavender on top after the wax begins to cool to give it a gentle scent.
- Use clear glass vessels with no labels or frosted finishes.
- Choose one wick centered for a clean burn line.
- Opt for soy wax because it holds pastel shades well.
The minimalist approach also lets you match the candle to any room. Place a single jar on a shelf or group three different sizes on a tray for instant warmth.
Nature Inspired Textures and Scents
Bringing the outdoors inside is a huge trend in nature inspired diy candles. I love mixing dried herbs, pressed flowers, and even small branches into the wax to create texture. Rosemary, thyme, and chamomile release subtle fragrance as the candle burns, making the whole room smell like a garden after rain.
Pack the botanicals along the sides of the jar before pouring your melted wax. Use a skewer to gently push them against the glass so they show through. Keep the mixture sparse: too many leaves can cause uneven burning or smoke. A few sprigs and a single flower head per candle is plenty. You can also sprinkle a pinch of cinnamon powder into the melted wax for a warm, spicy note that pairs well with pine or cedar essential oil.
One practical tip: pour the wax at a slightly lower temperature (around 130°F rather than 150°F) so the botanicals do not scorch or float to the top. This method takes a bit more patience but the final look is worth the wait.
Layered Color Candles for Visual Depth
Creating layered candle making technique is one of my favorite ways to add depth without buying fancy molds. You pour one color, let it set until it forms a skin, then pour the next color on top. The result looks like a mini sunset trapped inside a jar.
I use three colors for a classic gradient: a deep base like navy or forest green, a medium shade in the middle, and a pale cream or off white on top. Let each layer cool for 30 to 40 minutes before adding the next. If you rush, the colors will bleed together and you will lose the crisp line. For a softer effect, pour the next layer when the previous one is still slightly warm so they blend just a little at the edge.
A fun variation is to add a few drops of fragrance oil that matches each color. For instance, sandalwood in the dark layer, bergamot in the middle, and vanilla at the top. As the candle burns down, the scent changes subtly, which feels like a little surprise each time you light it.
Vintage Tea Cup Candle Upcycle
Flea markets and thrift stores are gold mines for finding mismatched tea cups and saucers. Turning them into candles gives them a second life and makes your vintage teacup candle decor feel personal and nostalgic. I once found a set of four floral cups from the 1960s for five dollars total, and they now sit on my kitchen windowsill.
Because tea cups are smaller than standard jars, you need to trim your wick short and use a smaller volume of wax. Pour slowly to avoid spilling over the delicate rim. The saucer acts as a natural drip catcher, so you can burn these candles without worrying about wax staining your table. Pair them with a floral or powdery fragrance like rose, lavender, or old fashioned violet to match the vintage vibe.
One caution: some antique cups have metallic paint or gold trim that can react with heat. Test a tiny dab
#candlemaking #aestheticcandles #diycandles #homedecor #candledecor
This post was researched and drafted with AI assistance, then personally reviewed and edited by Diana before publishing.
Leave a Comment