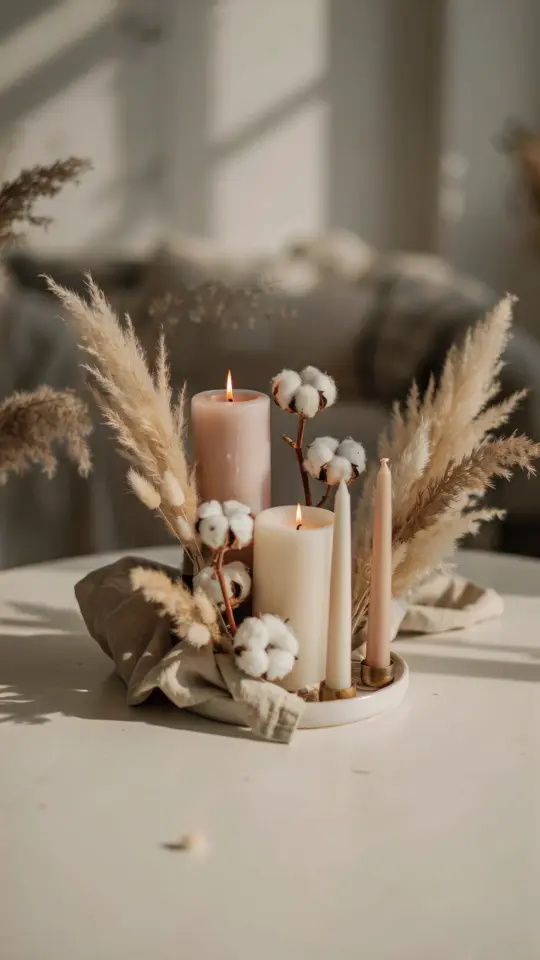
I have a confession to make: for years I bought candles without ever thinking about making them myself. Then one rainy Saturday afternoon, I tried my first batch of hand-poured candles using thrifted vintage jars, and I have not looked back. That is because candle decor ideas like these are not only simple, they let you create something truly personal. You do not need a big workshop or expensive supplies. A few basic materials, some secondhand jars, and a bit of patience are all it takes to turn plain soy wax into gorgeous gifts that people actually keep and use. Let me walk you through exactly what worked for me.
Why Vintage Jars Make the Best Candle Containers
When I started making candles, I assumed I needed proper glassware from a craft store. But then I spotted a stack of old mason jars at a flea market for 50 cents each. That is when I realized that thrifted jars bring a patina and character that new glass simply cannot match. Think blue Ball jars, amber apothecary bottles, or even small jelly jars with textured lids. They already have a story, which makes the finished candle feel like an heirloom.
Another practical reason: vintage jars are often thicker and more heat resistant than modern thin glass. I have tested dozens of them, and the heavier ones handle the temperature of melting wax without cracking. Just avoid jars with hairline cracks or very thin rims. A quick visual check and a tap on the glass will tell you if it is solid.
One tip I learned the hard way: clean your jars thoroughly and dry them in a low oven (200°F) for ten minutes to remove any moisture. Water droplets in wax cause pitting and ugly craters on the surface.
Gathering Supplies for Handmade Candle Making
You need surprisingly few ingredients to start making candles at home. Here is my exact shopping list based on what has worked best for my own batches:
- Soy wax flakes (natural, non-GMO, with a melting point around 130°F). I prefer soy because it burns cleanly and holds fragrance well.
- Cotton wicks with a small metal tab at the base. Pre-waxed wicks save time, but plain ones work fine if you dip them in melted wax first.
- A glue gun or double-sided wick stickers to attach the wick base to the jar bottom.
- A thermometer (candy or infrared) to monitor wax temperature. This is non-negotiable for consistent results.
- Fragrance oils designed for candles (about 1 ounce per pound of wax for a medium scent throw).
- A pouring pitcher or a clean tin can. I use a dedicated tin pitcher from a thrift store.
Do not overthink the tools. A double boiler setup (a saucepan with an inch of water and your pitcher inside) works perfectly. You can even melt wax in a slow cooker on low, but I find the stovetop method faster and easier to control.
Step by Step: Pouring Your First Candle in a Vintage Jar
I like to do this in the morning when the kitchen is quiet. Melt the wax in your pitcher over simmering water, stirring gently. Heat it to exactly 175°F, then remove from the heat and let it cool to 160°F. That is the sweet spot for adding fragrance oil. Stir the oil in for a full two minutes to ensure it is evenly distributed.
While the wax cools slightly, place your wick in the cleaned jar. I use a wick holder or simply a wooden skewer laid across the top to keep the wick centered. Pour the wax slowly down the side of the jar to avoid creating air bubbles. Fill about three quarters full if you plan to add a second layer (for a color or different scent). Otherwise fill to within half an inch of the rim.
Let the candle sit undisturbed for at least 24 hours. I know it is tempting to light it sooner, but that extra wait time prevents sinkholes and gives the wax a smooth, professional top. If you notice a small dip after cooling, you can pour a thin second layer of warm wax to level it out.
Rustic Decor Ideas: Styling Your Finished Candles
Once the candles are set, the real fun begins. I love grouping three different sized vintage jars on a wooden tray with a few dried lavender sprigs or a spool of twine. For gifts, I tie a simple tag made from brown kraft paper around the neck of the jar with a piece of jute. Write a short note like “hand poured with soy wax” or the scent name inside.
Another rustic decor trick that I use often: place a single candle on a small vintage saucer or a slice of tree round. The contrast between the smooth glass and the rough wood feels warm and intentional. These arrangements work beautifully on a coffee table, a mantle, or even a bathroom shelf. They do not scream for attention, they just add a soft glow.
If you are giving the candle as a present, consider pairing it with a small box of matches and a care card explaining that soy wax burns longer and cleaner than paraffin. People really appreciate knowing the story behind the gift.
Common Mistakes I Made (And How You Can Avoid Them)
My very first candle had a mushroom cloud of soot on the wick because I used a wick that was too thick for the jar diameter. A good rule of thumb is to use a wick that is about one quarter the diameter of the jar opening. For a standard wide-mouth mason jar, a medium cotton wick works well. For narrow bottles, choose a thinner w
#CandleDecor #DIYGifts #HandmadeCandles #RusticDecor #CandleMaking
This post was researched and drafted with AI assistance, then personally reviewed and edited by Diana before publishing.
Leave a Comment